An Exercise In Patience – How To Transition Chicks From Brooder To Coop
As your little chicks approach the time to graduate from a brooder to the coop, we have many people asking us about how to transition chicks from brooder to coop.
So, we’re going to outline what you need to look for to know when it’s the right time and how to move them over without causing undue stress.
Signs That Your Chicks Are Ready
Your chicks will begin to show signs that they are nearing the time to prepare for the “big” move. There’s no specific date or time because every breed develops differently, and every group of chicks will have its own unique needs.
Chicks, in general, will be ready to transition over to the coop when they are about 6-7 weeks old.
Remember, the transition is a process that can’t be rushed and requires quite a bit of patience and nurturing. The little chicks have been in a warm, comfortable environment under the feathers of their mother or from the warmth of the brooder lights.
Premature exposure to the outside world will come as a shock regardless, but as loving chicken owners, we want to make that first impression of a new world a positive experience.
The last thing you want to do is move them out of the brooder before they are ready. This results in severe stress and can lead to illness, being picked on, and potentially death.
So, here are a few things to look for to know when your chicks are either nearing or are ready for the transitioning:
- They should be fully feathered.
- They will spend little to no time around the heater or in the brooder.
- They are comfortable exploring and foraging.
- They no longer huddle together.
- They are nearing the same size as the flock (if you have an existing adult flock already).
Environmental Requirements Before Moving Chicks
- Temperatures must be 65 degrees (F) or warmer if wanting them to free range.
- They have full protection from predators.
- Free-ranging should be postponed for the first week after the transition.
- A separate area for the chicks within the coop should be used for the first week or longer during the transition.
How To Transition From Brooder To Coop
If you are a parent, you may recall your child’s first day of school. You prepared them by buying school clothes, supplies and talking a lot about what to expect. They were transitioning into a new chapter of life.
During the first few days of school, their teacher closely monitored them to ease the process by comforting them and maintaining a protective environment.
This same principle applies to our chicks.
Before moving them to the coop, be mindful of the following for the day of transition.
- A small separate area should be set up in the coop where your chicks can acclimate while having a barrier to protect them from getting picked on by the flock. This is beneficial for both chicks and adults.
- Your flock is at least 6 weeks old and ready to be gradually introduced to your adult flock (if you have an existing flock).
Just Before The Transition
- Construct a barrier or structure for the separated area in the coop.
- Options for a barrier within the coop:
- The brooder itself can be used if space allows
- Wire dog crate (large)
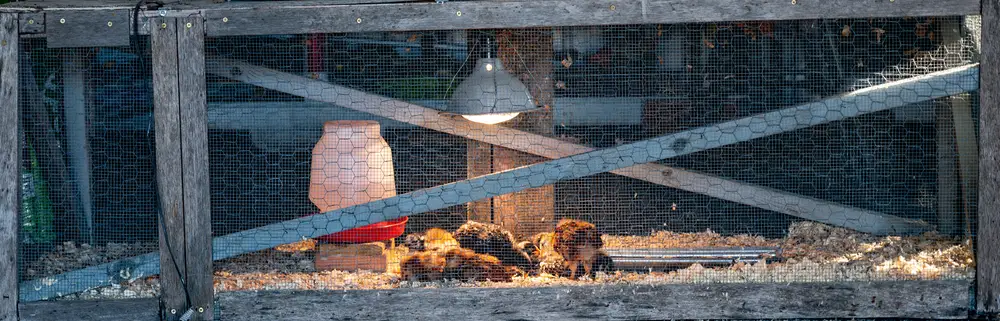
- Enclosed mesh pen. Hardware cloth works great. (see image below)
- Children’s/pet’s playpen
- Add and fill a feeder and waterer designed for chickens in the separated coop area.
- Add a heating source.
Transition: Day 1-3
This period is used to acclimate the chicks to the coop.
- Move your chicks and the mother hen (if you have one – not necessary) into the separate area of the coop. Show them where their food and water are.
- Turn the heater on. If the chicks huddle once the heater is off, they are most likely cold and may not be ready for a full transition.
- Each day show them where their feed and water are if needed. We’ve found that, although they may not be the smartest creatures on the planet, they seem to find the food/water rather quickly!
Transition: Day 4-7
This period is to introduce them to your flock and get them acclimated to being outside the separate coop area.
- Feed and water them before turning them out.
- Turn the heater off and remove it from the area. Monitor for any huddling. If this happens, you may need to place the heater back in.
- Release the chicks out into the run area (or out to free-range) with the flock.
- Closely monitor the chicks and your flock (if any pecking begins, this will most likely be the time it occurs.)
- If your chicks are free-ranging, follow them and monitor them the entire time. They may not have enough sense to return to the coop.
- Do this daily for days 4-7.
Graduation Day
If you feel confident about the chicks returning to the coop daily and there’s no major pecking going on, you can remove the barrier/separation in the coop and fully integrate them.
Things To Monitor Afterwards
- Don’t allow integrated chicks to shelter or sleep in nesting boxes. Discourage them from doing so because it leads to nesting boxes full of droppings and, in turn, results in eggs being laid in a heavily polluted box.
- Pullets and cockerels may need to be separated if pecking begins to occur. As the chicks mature, their attitude towards the opposite sex may change. Generally this is not an issue until they are adults.
- Some picking/pecking occurs as part of the literal “pecking order” that takes place. But if it becomes too aggressive, leading to one becoming bloody, remove it to heal on it’s own. If you don’t, the flock will peck at it mercilessly until it dies. A product we use is called Pick no More, which is fantastic at stopping cannibalism. We bought ours at the farm store, but it can be purchased online as well.
- If you are introducing the new brood to an existing adult flock, do this gradually and be prepared to separate them if the older chooks are bullying the younger ones too much. We have always been able to combine the younger chicks with the mature hens after about 6 weeks without too much trouble.
Once the two flocks have met and adjusted, you’re all set! For tips on setting up your coop for the whole flock, see this guide.
Feeding Requirements For Chicks During And After Transitioning
Once your chicks are moved into the coop during the transition, they can be given the same feed your flock has if you have not already changed over for the chicks. Every morning during the transition, be sure to show your chicks where the feed and water are until they acclimate.
If it looks like the new kids on the block are not getting access to the feed as readily, consider adding an additional feeder for a short time until they grow to full maturity.
If you are interested in making your own chicken feed, you’re not alone! Read this article to learn more about the process.
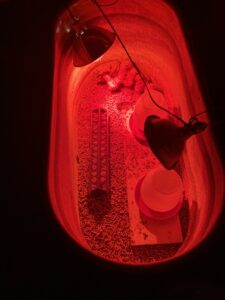
Our Chicken Brooder And Coop Set Up
Below is our stock tank brooder, which worked great! When our brood had a few feathers, at about 4 weeks of age, we transitioned them to the coop.
We don’t currently have an adult flock so the transition was much simpler and we could get away with moving them to the coop at 4 weeks vs 6-7 weeks of age.
Below is what our set up looks like with our little brood. We have the adult feeder in addition to the chick feeder for a day or two until they get more acclimated. They much prefer the adult feeder because the feed is easier to access.
We also added the new watering set up which for us is the nipple waterer. Nipples can be purchased at the farm store or online. As you can see, they figured out how to use it right away!
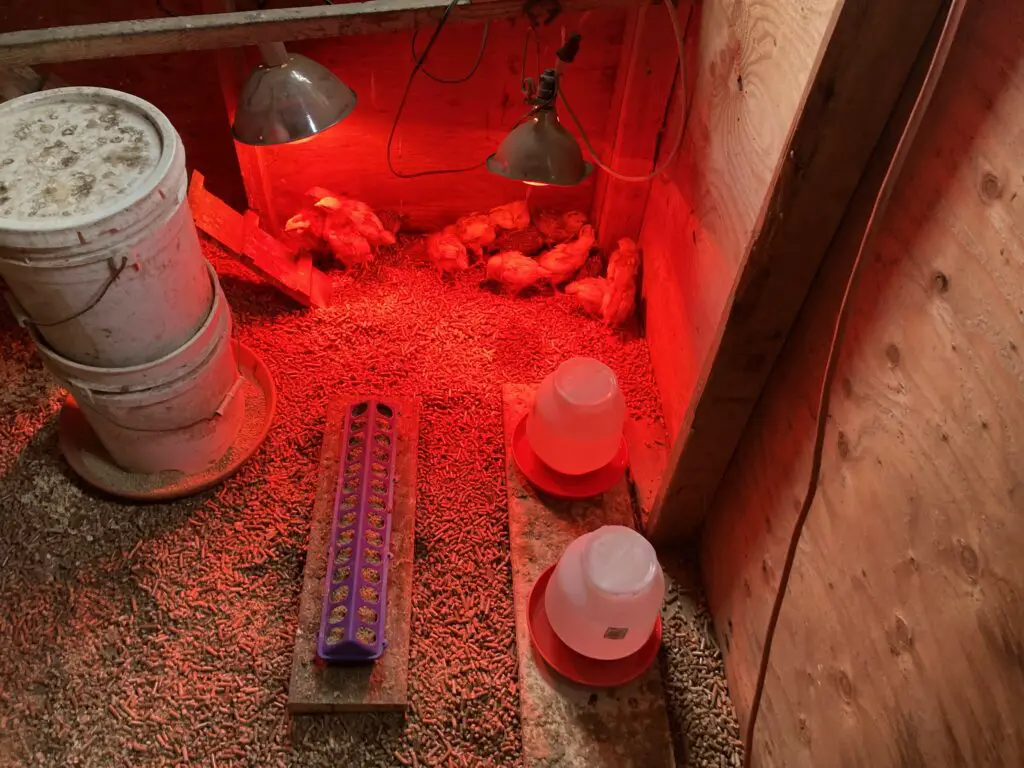
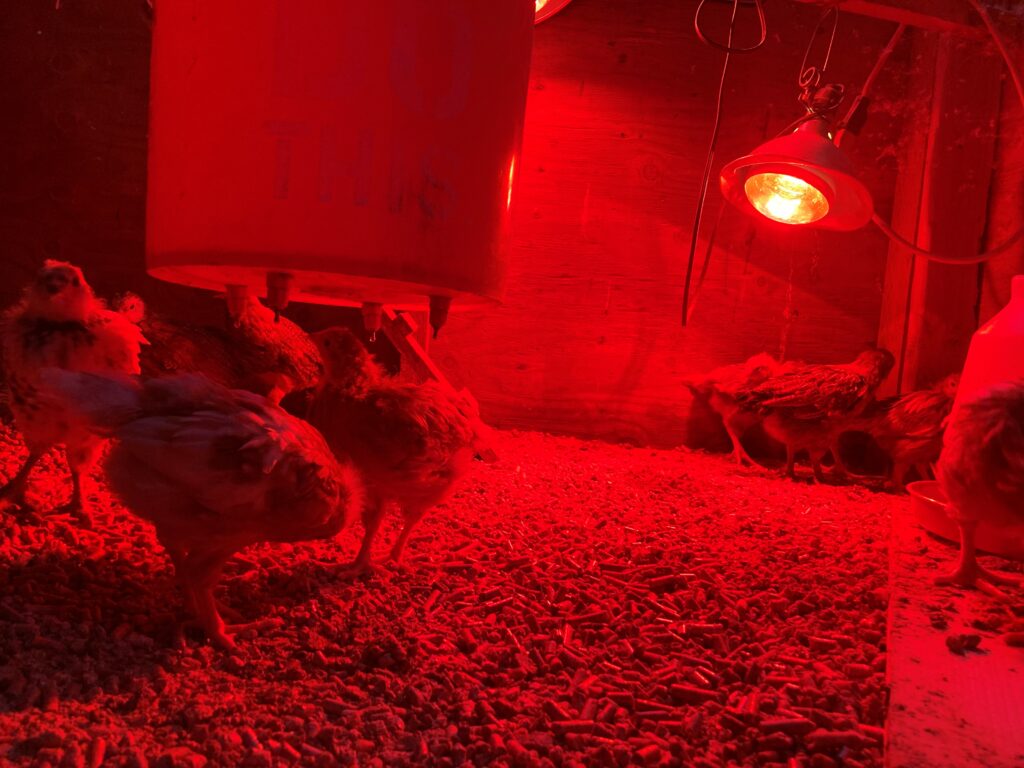
If you are interested in making a large bucket(s) feeder like the one pictured above, we have instructions for it here! We love it since It holds an entire 40lb feed bag!
If you want to watch a fellow chicken keeper’s video on how they did the transition, check out the one below.
Happy Chicks, Happy Chick Parents!
Once the “nail-biting” transition is done, and behind you, you can now sit back and enjoy watching your little yardbirds grow into the majestic creatures they were meant to be.
We’d love to hear your stories of how the transition went for your chicks, so please comment below! Thanks for stopping by.
Happy “chickening!”