Incubators For Hatching Eggs – An Overview
If you are raising chickens, you have probably been to your local farm store to buy some chicks they sell there. The store has picked out a few common breeds, had them sexed (determined if they are male of female), and sorted them accordingly.
This is how a lot of people choose their chickens, which is not a bad way to go. The store gets the chicks all ready to go and you simply buy them and take them home. Easy right??
Well what if you don’t like the breeds of chickens sold there or want to mix and match different breeds on your own? Or what if you simply want the experience of hatching eggs at your home. Well this is totally possible, and by making or buying your own incubator you can get started right away!
In this article, we’ll take a look at what the process entails, what types of incubators are out there, and whether incubating your own chicken eggs is for you. Let’s get to it!
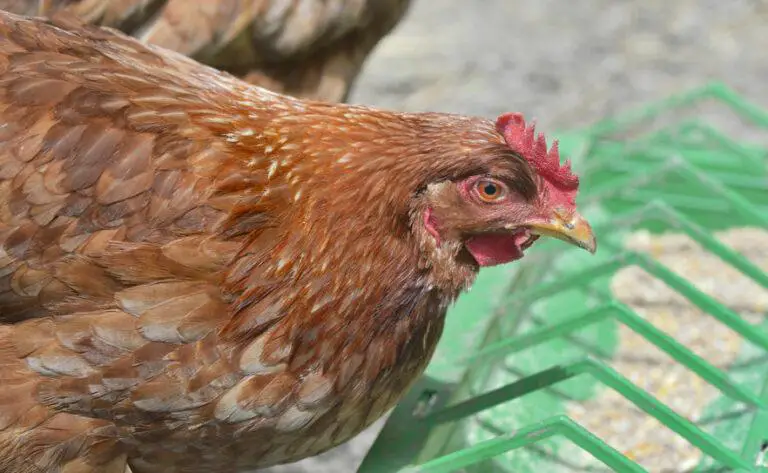
(photo, Pixabay)

How To Incubate Chicken Eggs
Incubating eggs is the same process whether you use a homemade incubator or buy a fancy new one from the store or online. However there are a few basic guidelines that should be followed when incubating eggs at home. These should be followed closely so that you’ll have the best chances of success.
It’s not super difficult, but there are quite a few things to keep in mind…
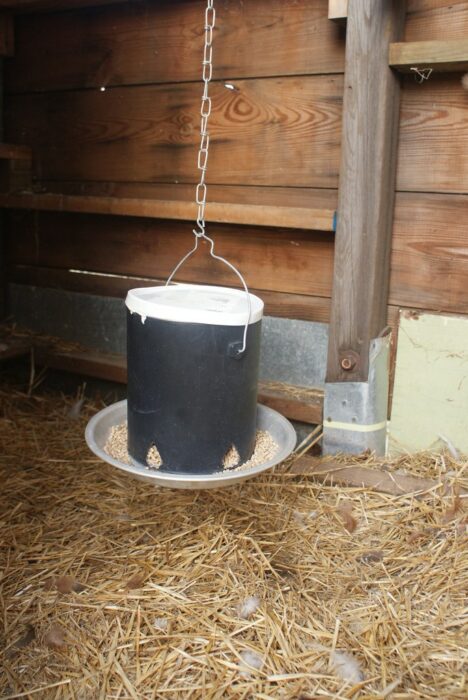
You’ll need to get your coop ready for chicks
At some point you’d probably realize this but it’s easy to get in the mindset of incubation, watching the chicks hatch etc. without properly preparing your coop for the new brood!
A warm bulb placed about 14 inches off the ground in a nice bed of wood pellets, straw, or other bedding options, will work great. (Read more about bedding options for your coop here)
You’ll need fertile eggs
There are a few ways to get fertile eggs:
- Get a rooster for your flock of hens. The suggested ratio of rooster to hens is 1:10. Or
- Buy fertile eggs from a local poultry farmer or hatchery.
- You can also order them online. The idea of ordering them online sounds appealing in that you’ll have a better selection to choose from. The downside is that there may be a potential for damage or problems during shipping.
You’ll need 21 days to hatch your eggs
It may not seem like a big deal…just 21 days is quick right? Well you’ll actually be quite busy monitoring what’s going on during those 21 days. – You have to make sure your eggs are turned at least 3 times/day, that the temperature is just right, the humidity is around 40% to %50 etc. There’s a lot going on!
Incubate a minimum of 4 eggs, but 6 or more is better, even if you’re only wanting to raise a few chickens.
The logic behind this is that if some of the eggs don’t hatch, you will (likely) have no fewer than two. And you don’t want to hatch just one chicken as they are flock animals and don’t do well on their own.
The Temperature in your incubator needs to be 101.5 degrees (F) if you’re using a “Still-air” incubator and 99.5 degrees for “forced-air” incubators
This cannot be varied by more than a degree or two for any length of time or the embryos may die.

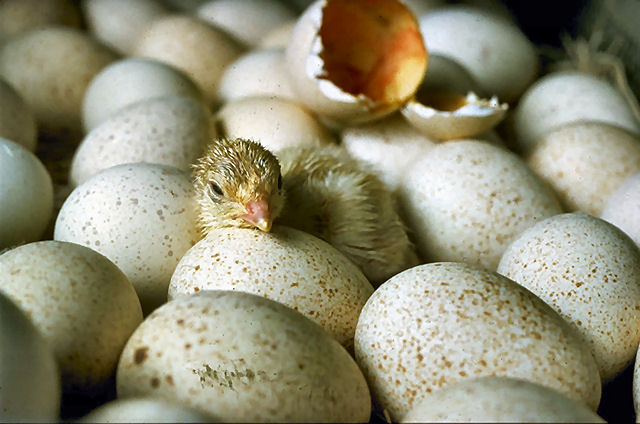
(photo, PublicDomain)
Your eggs need to be turned 3 to 5 times per day (or more) for the first 18 days
It’s not to be done the final 3 days as they get ready to hatch. This is called the “lock down” period.
The eggs can be turned by hand or, if you have some extra money, buy an automatic turner to make the job a whole lot easier. If turning your eggs by hand, wash your hands to prevent the spread of germs/bacteria.
Also – it can get confusing knowing which eggs you’ve already turned so some people mark their eggs on one side (an “X” or whatever symbol you prefer) so they know which eggs have already been turned, and which have not.
When placing eggs in an incubator, place the point end downward
This direction is for most incubators, but read the instructions carefully for the incubator you’re buying as there may be variations, depending on the model.
The humidity should be at 40% to 50% for the first 18 days, and at 70% for the remaining 3 days. Always have plenty of ventilation in your incubator.
Don’t open your incubator during incubation process if at all possible
By opening it too often, you’ll lose the desired temperature and humidity they require. Opening it occasionally to turn eggs is okay (if you don’t have an automatic or other turning system set up), but keep the lid shut as much as possible. There is a “Lock down” period at day 18 when you can stop turning the eggs and simply leave the door shut until day 21.
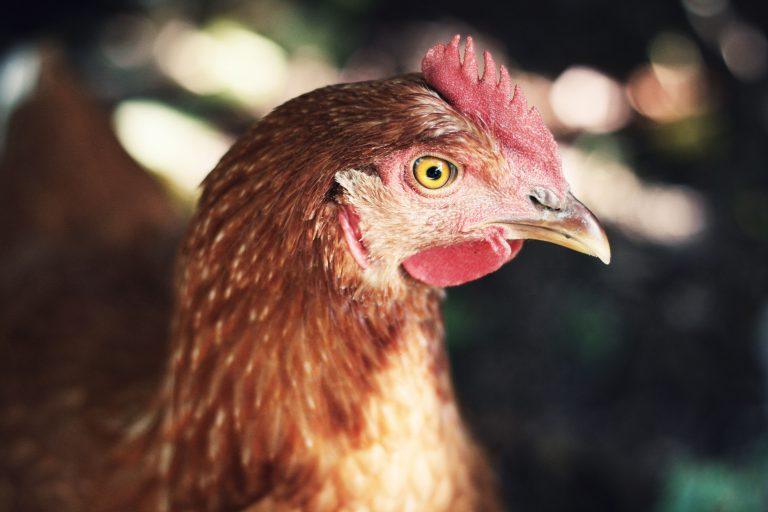
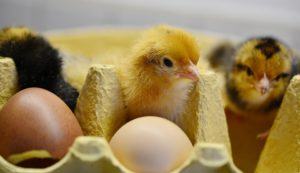
Once you see the chick trying to poke it’s way out, DON’T HELP IT.
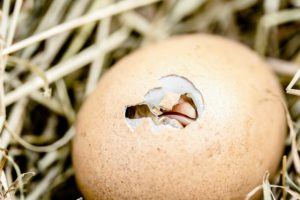
(Photo at Pixabay)
Let the chick take care of it on it’s own. It can take a few hours (around 5 – 7 hours on average but it can take up to a full day) for the chick to complete this process since the chick may still be attached to some blood vessels in the egg and pulling off the shell could cause bleeding (and death). You don’t want that!
Types Of Incubators
There are a few distinctions for types of incubators we’d like to cover here so you’ll know the ins and outs of what your buying.
Still Air Incubators
These tend to be more affordable but come with some added work. Because the air inside the incubator is “still” or not moving, the warm air rises to the top so it’s difficult to determine what the temperature will be where you place your eggs. Also, it’s a bit more challenging to get the right humidity inside this type of humidifier.
Because of this, people are often drawn to forced air incubators for hatching their chicks. But these types of incubators are used all the time and if you get it set up correctly at the start of the incubation process, you should be able to make it work just fine.
These incubators are generally less expensive and, if you prefer, you can make one at home! Get a good thermometer when using any incubators. For still-air incubation, you’ll especially want a good one, digital is best, and you’ll want to place it at the same level as the eggs in the incubator so you have a more accurate reading of the hatching temperature.
(photo, Wikimedia Commons)
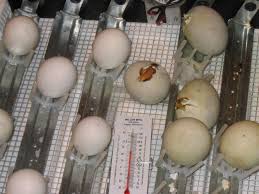
Circulated Air Incubators
These incubators provide better temperature regulation in the coop. They have a fan or blower inside the incubator which circulates the air, leaving the temperature more even throughout the incubator. This makes it much easier to monitor than a still air incubator. Also, regulating the humidity is also easier in this type of incubator.
Automatic Incubators
As the name suggests, these incubators do everything for you. They have more features than the Still Air or Forced Air incubators, and often have the ability to turn eggs for you as well! These added features are pretty awesome but, as is often the case, will also cost some extra money too.
The starting price for these incubators starts around $50 and goes up from there. But if you are serious about raising chickens and plan to hatching eggs on a regular basis, a high end automatic incubator may be well worth it.
Also – if you’re busy, gone etc. you don’t have to worry about constantly checking the temperature, humidity, and turning the eggs since the incubator will handle all of that for you. Being busy with a pile of kids myself, that’s appealing to me!
Again – either Still Air, Forced Air, or Automatic incubators will work just fine. It all depends on how much you want to spend and how much work you are willing to do manually during the incubation process.
Dozens of good incubators can be found here
Which Incubators Do Most People Choose?
There is no “one size fits all” answer to this question since there are a lot variables go into this decision. But generally speaking, many new to hatching eggs will pick a more affordable model which puts them in the Still Air or Forced Air category.
This is where we started out as well. As a beginner to incubating eggs we wanted it to be more of a “hands on” type of experience. And we also wanted the kids to be part of it. Having said that, we didn’t want to spend a bunch of money on any incubator only for it not to work out or discover that we didn’t like the experience.
So we ultimately went with an affordably priced forced air incubator and had a BLAST incubating some eggs! As a family, we decided to try out the experience to see what it was like…
This is what we discovered:
- It’s fun! The anticipation built up from start to finish is exhilarating
- It’s a great family activity – something you can do with your kids to create some great memories!
- It’s more work than we thought – we had to turn the eggs 3 separate times/day which ended up being a really rewarding but time consuming part of the process
- We discovered it was not something we wanted to do very often – not because it was a lot of work but it was something we really had to program into our day to make sure we turned the eggs, checked the temperature etc.
- If we did it again (and we might), we would buy the automatic incubator so there would be a bit less work during those 21 days.
You’ll have to decide how much money and how involved you want to be in the process. If you haven’t tried incubating your chicken eggs, I HIGHLY recommend it – it was a remarkable experience for our family.
Closing Thoughts
I hope you’ve discovered how fun and exciting incubating your own chicken eggs can be! It’s truly an incredible experience. If you decide that it’s not for you, no biggie – the farm store will always have plenty of chick breeds to choose from…but if you’re up for the adventure, give it a try!
To see what’s available for incubators, you can check at your local farm store or online. Check out what Amazon has as well – there are dozens of incubators of all types, both large and small.
Please comment if you have tried incubating chicks before, and let us know your experience. Best of luck to you in your chicken raising adventures!
Like this post? Pin it